Blog Detail Page
how to install FileZilla FTP
Admin
Hosting
0
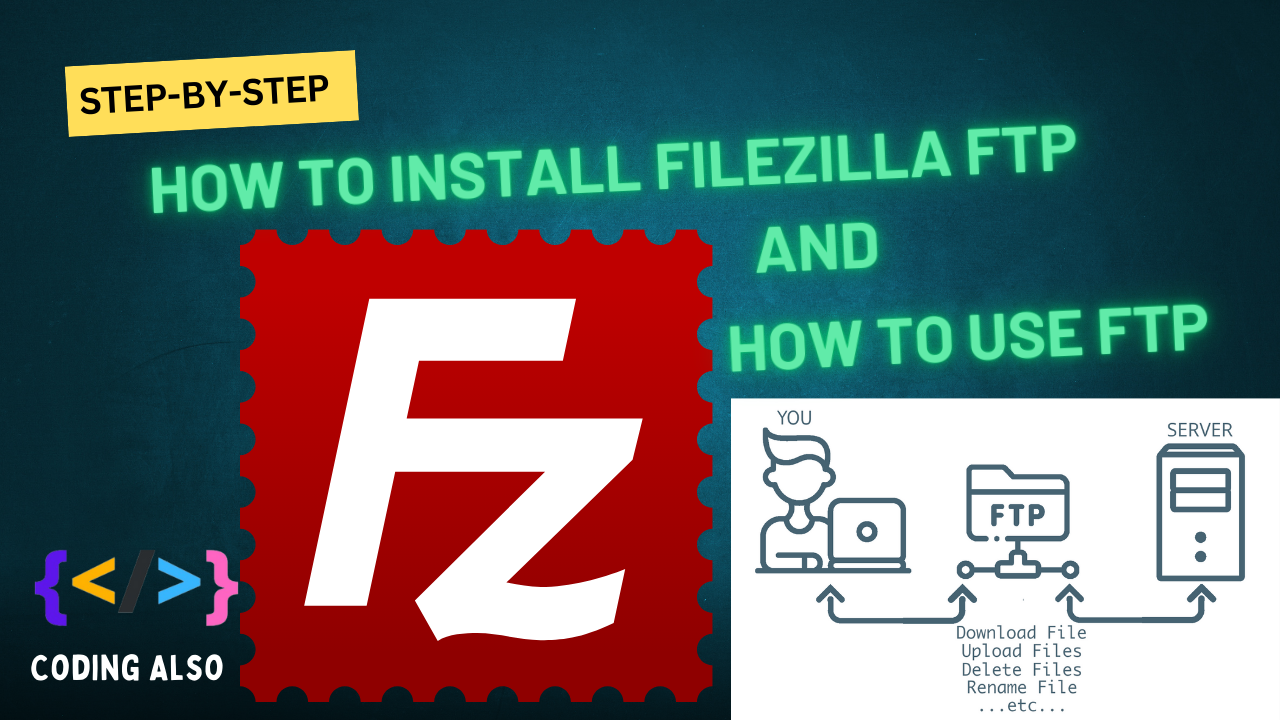
Installing FileZilla FTP client is quite straightforward. Here's how you can do it:
Download FileZilla: Go to the official FileZilla website at https://filezilla-project.org/ and navigate to the "Download FileZilla Client" section.
Choose Your Operating System: FileZilla supports Windows, macOS, and Linux. Select the version that corresponds to your operating system (e.g., Windows, macOS, or Linux).
Download the Installer: Click on the download link for the installer file (.exe for Windows, .dmg for macOS, or .tar.gz for Linux).
Run the Installer: Once the download completes, locate the installer file and double-click to run it. Follow the on-screen instructions to install FileZilla on your computer.
Complete Installation: During the installation process, you may be prompted to choose installation options or confirm permissions. Make sure to review these settings based on your preferences.
Launch FileZilla: After installation, you can launch FileZilla either from your desktop shortcut (if created) or by searching for "FileZilla" in your applications menu.
Set Up FTP Connections: Once FileZilla is open, you can configure FTP connections by entering the FTP server address, username, password, and port number provided by your hosting provider or FTP server administrator.
Connect and Transfer Files: After configuring your connection settings, click on "Quickconnect" or "Connect" to establish a connection to the FTP server. You can then transfer files between your local computer and the remote server using FileZilla's intuitive interface.

Related Post

Changing the WordPress Login URL (wp-admin)

Installing a WAMP (Windows, Apache, MySQL, PHP) server on your local machine is pretty straightforward.

how to install FileZilla FTP

How to install xampp for local development on your pc.

Hosting-related questions covering basic to advanced topics.
0 Comments
Leave a comment

Categories
Recent Post

Changing the WordPress Login URL (wp-admin)


